When I was a kid, I took a couple of computer courses and, on those days, all was green phosphorus monitors or gray scale ones. Till the day all changed: someone brought a PC that was CGA capable. We were all stunt with the “new” 4 color modes. The clasical mode comprises black, cyan, magenta and white and has become a legend. The other mode I have met was black, red, dark yellow/brown and green. As can be seen in the logo of this page, I have some nostalgia about this. Don’t get me wrong, I liked it and like the style and the state of the art of that times which it represents, but in my daily life give me 4K and full color modes. But this post is not about the CGA adapter, but is a kind of tutorial of the steps I followed transforming my profile picture in CGA. For more information about the Color Graphics Adapter, you can visit Wikipedia here. If you are interested in the techniques, let’s get started.
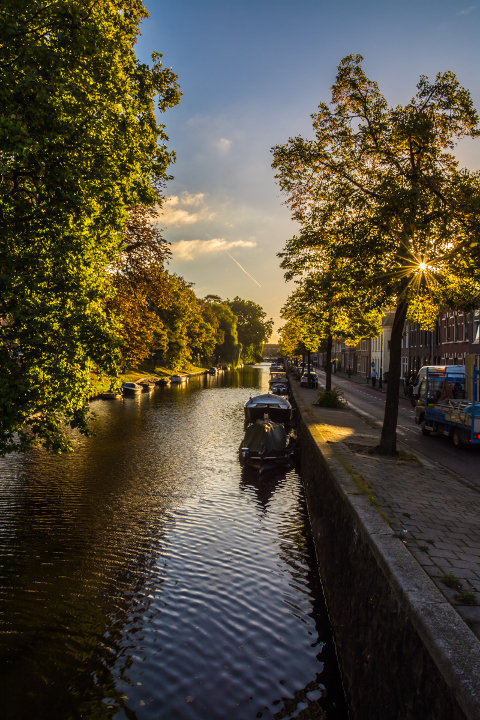
For this tutorial we are going to need GIMP and an image. For a change, instead of using my profile picture, I am picking a picture taken from Magic Haarlem Day 1, posted recently.
To achieve this goal, we will follow the following steps:
- Install GIMP, if not done yet (Not covered here)
- Open the picture
- Change the mode of the image to indexed, best match, 4 colors
- Duplicate the image palette
- Edit the palette to match the CGA colors
- Change the colormap of the image to the palette we have created
- Done
I have chosen the clasical magenta-cyan-white convination and here are the HEX codes for the colors I used:
| COLOR | CODE |
|---|---|
| BLACK | #000000 |
| CYAN | #55FFFF |
| MAGENTA | #FF55FF |
| WHITE | #FFFFFF |
The first step, of course, is installing GIMP. For that, I leave that for the official GIMP’s page. So let’s open the image in GIMP, and let’s transform it with Image -> Mode -> Indexed…. You should see a dialog box as below:
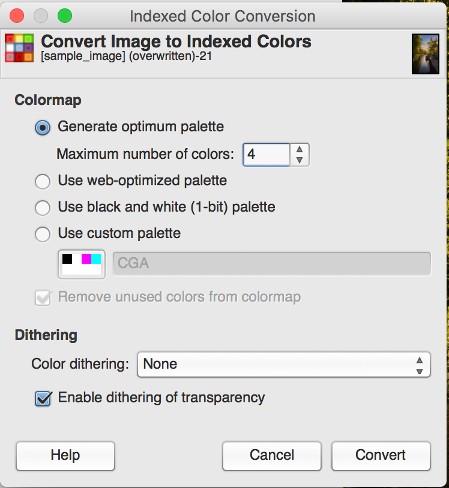
Be sure of choosing the Generate optimum palette option and restrict it to 4 colors. Apply. The result is as follows:
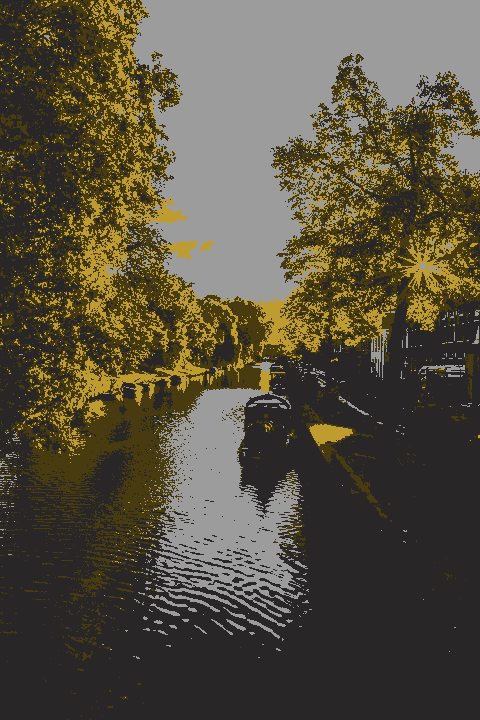
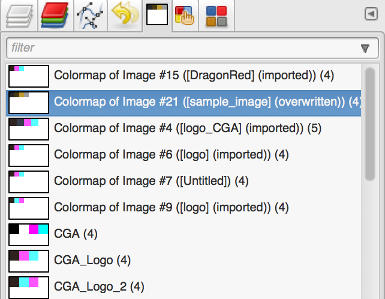
This can be a good point to adjust the image. As this is just a sample, I will skip that part. The next step is to duplicate the palette so we can edit it matching the image. For this, we need to locate the image color map in the palette dialog box.
Click on the duplicate button (so we can edit it). NOTE: Actually, duplicate is not really needed, you can prepare a 4 color palette and directly apply it as new colormap, but this way we know exactly which color assign per palette position making it easier to achive something we like. After the duplication, I like to reduce the number of colums of the palette to 4, so is easier to work with (not sure performancewise). Double clicking in the colors we can edit them, so one by one we assign new colors as per the table above. When done, set a name and save it.:
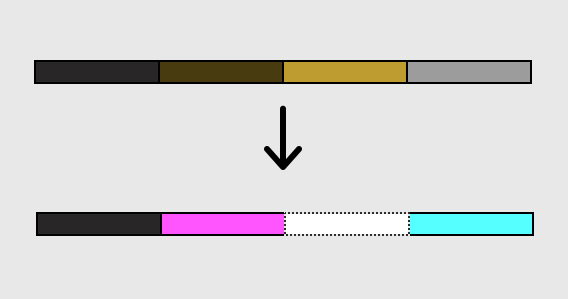
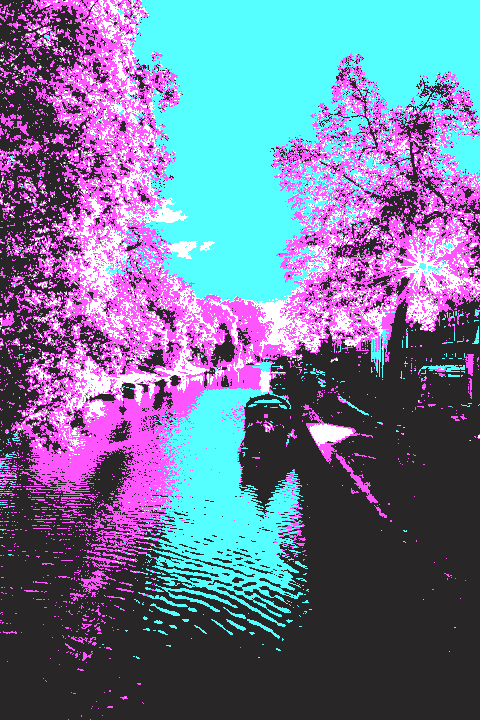
And now the final step: assign the new palette as colormap of the image. For this, go to the menu option Colors -> Map -> Set color map…. There click on the button for the palette and choose the previously saved one. Apply, and we are done: